This section contains the instructions which should be performed before and after the actual installation of Sitecore CMS on Windows Vista.
1.1. Windows Vista Pre-installation Steps
-
Sitecore CMS supports the following editions of the Windows Vista operating system (due to the fact that other editions, such as Home Basic, have IIS server limitations):
-
Business
-
Ultimate
-
Enterprise
-
-
To run the installation program on Vista, the UAC (User Account Control) configuration setting Detect application installations and prompt for elevation must be set to Enabled (this setting is enabled by default).
The following steps will help you check if this setting has been changed on your machine:
-
Log in to your Vista system as Administrator.
-
Press Win + R to launch Run applet.
-
Type secpol.msc and press Enter.
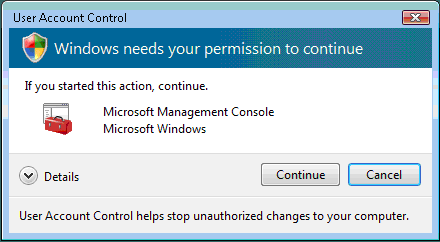
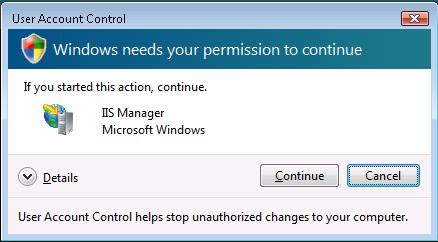
The UAC (User Account Control) will request your permission to continue.
-
Choose Continue.
The Security Policy Manager appears.
-
Expand the Local Policies node.
-
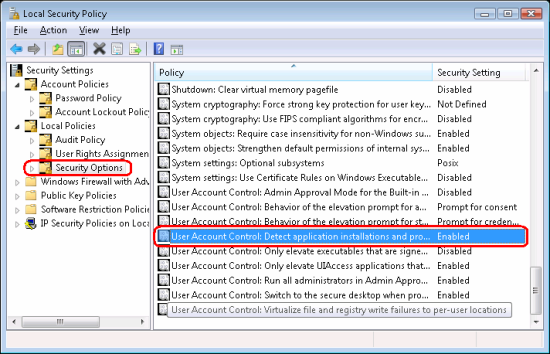
Select Security Options node in the left pane.
-
Scroll to the bottom of the list of policies in the right pane.
-
Verify that the User Account Control: Detect application installations and prompt for elevation setting is set to Enabled.
-
-
The installation program requires IIS 6 configuration compatibility.
The following steps will help you check if this setting is enabled on your machine:
-
Log in to your Vista system as Administrator.
-
Choose Start -> Control Panel.
-
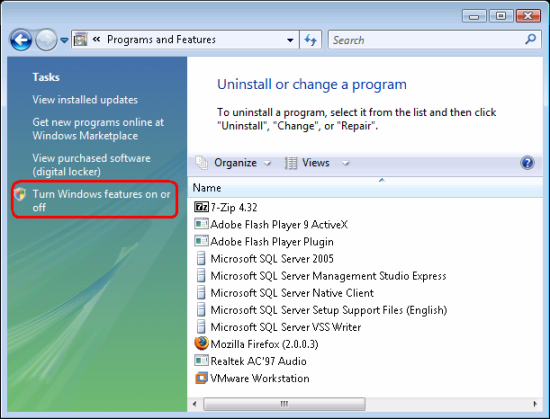
Double click on the Programs and Features icon.
-
Click on the Turn Windows features on and off link in the left pane.
The UAC (User Account Control) will request your permission to continue.

-
Choose Continue.
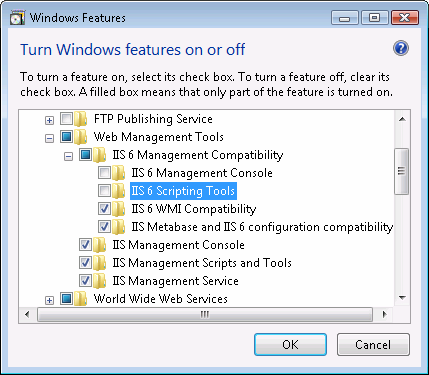
The Windows Features dialog appears.
-
Locate and expand the Internet Information Services element.
-
Locate and expand the Web Management Tools element.
-
Locate and expand the IIS 6 Management Compatibility element.
-
Verify that the IIS 6 WMI Compatibility element is enabled.
-
Verify that the IIS Metabase and IIS 6 configuration compatibility element is enabled.
-
1.1.1. Information Services 7 (IIS7) removes custom values in the Web.config file
The problem: When you modify the configuration for any delegated feature, Internet Information Services (IIS) 7.0 removes custom values in web.config.
For example, consider the following scenario. The following information is part of web.config:
<applicationSettings>
<TestObject.Settings>
<setting name="TestSetting" serializeAs="String">
<value>TestValue</value>
</setting>
</TestObject.Settings>
</applicationSettings>
You take one of the following actions:
- You modify a delegated feature from the user interface (UI).
- You modify the Appcmd.exe file.
- You make modifications by programmatic means.
In this scenario, the information in web.config changes to the following:
<applicationSettings>
<TestObject.Settings>
<setting name="TestSetting" serializeAs="String">
<value></value>
</setting>
</TestObject.Settings>
</applicationSettings>
The solution:
To resolve this problem please submit a request to the Microsoft Online Customer Services to obtain the hotfix.
To submit an online request to obtain the hotfix, visit the following Microsoft Web site:
http://go.microsoft.com/?linkid=6294451
For additional information, please see the following link:
http://support.microsoft.com/kb/930451
1.2. Windows Vista Post-installation Steps
-
In order for Sitecore to work properly, the IIS configuration must include “default.html” among its list of default documents.
The following steps will help you check this setting on your machine:
-
Choose Start -> Control Panel.
-
Double click the Administrative tools icon in the Control Panel window.
-
Double click the Internet Information Services (IIS) Manager shortcut in the Administrative tools window.
The UAC (User Account Control) will request your permission to continue.
-
Choose Continue.
The IIS Manager will appear.
-
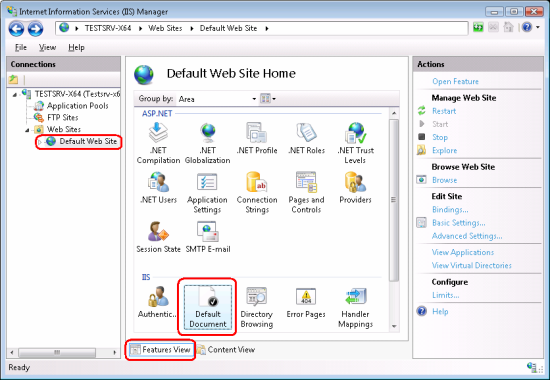
Expand the left tree and locate and select the appropriate IIS site.
-
In the center pane, double click the Default Document icon:
-
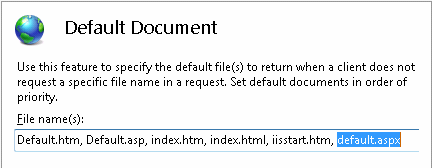
Verify that default.html is present in the File name(s) field:
-
-
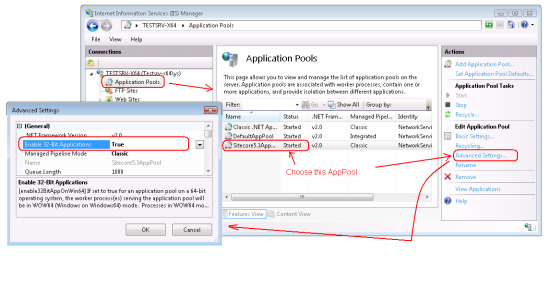
If the installation is performed for the x64 Vista system, the application pool is not set to be 32bit applications compatible. As a result, you receive the exception on the very start of Sitecore.
The following steps will help you check this setting on your machine (please refer to the screenshot below):
-
Perform the same actions as in previous step to launch Internet Information Services (IIS) manager.
-
Expand the left tree.
-
Select the Application pools node.
-
In the center pane, find and select Sitecore5.3AppPool application pool.
-
In the right pane, click Advanced settings… link.
The Advanced Settings window is displayed.
-
Change the Enable 32bit application setting to True.
-
-
By default in IIS 7 enabled requestFiltering has the MaxAllowedContentLength property. It specifies, in bytes, the maximum length of content in a request. The default is 30000000 (30 million or approximately 30 megabytes.).
If you want to change this setting in your application then you must include the following code in your web.config file.
If you want to change this setting for all of the computer and not just the ASP.NET application, you must add the following code to the machine.config file. The Machine.config file is located in \System Root\Microsoft.NET\Framework\Version Number\CONFIG.
If you get the error that requestFiltering cannot be overriden you must edit the applicationHost.config.Edit %windir%\System32\inetsrv\config\applicationHost.config to allow separate applications to define their own deviations from the safety configuration.
You should replace:
<section name="requestFiltering" overrideModeDefault="Deny" />
With:
<section name="requestFiltering" overrideModeDefault="Allow" />